Hi there! Welcome to week 3 of our quilt along! We finally get to sew:-)!
This week our focus is on constructing the Diamond in a Square block unit. This unit shows up 4 times in each block of the quilt so fortunately it’s a fun one to make, at least in my opinion! I chose this block over sewing together two flying geese units for two reasons; 1- Flying geese blocks are not my friend, and I try to avoid them if possible :-). 2- I wanted to cut down on the amount of seams in the finished block and therefore the overall quilt.
So please refer to your pattern this week for very detailed instructions on how to construct this block. Grab a favorite beverage and whatever you like to listen to while working and let’s get started!!
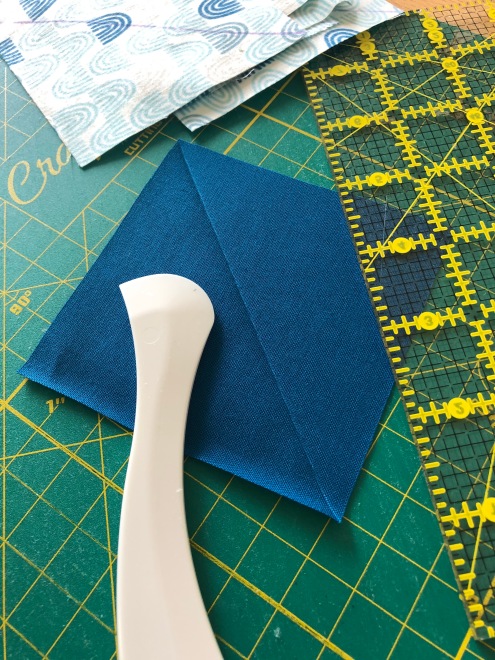
Tip: Mark the diagonal line on all your small squares for this block in one sitting. To do this, I either use a special erasable fabric marker pen or my Hera Marker. Then align and pin in place as shown in pattern. Do this for all the squares in the entire quilt. If you set up this assembly line method, things move along much faster.

Sew all sets of two squares together first. Don’t forget to pin in place first (not shown here).


After you have sewn, trimmed and pressed the first two squares to your center, you can repeat this assembly line method for the last two small squares. I usually take a break right around this point :)!
Be aware that you will have a fair amount of off cut triangles from this method, however, these excess pieces of fabric are perfectly suited to be turned into the cutest little HST units for a later project, or are great for being pieced into your backing fabric! That was the longest sentence ever!

The off cut triangles can literally be left RST as is, and chain pieced. Then press them open or to the side and trim. Note- I don’t save the second set of off cuts from this block unit as they have that annoying little bit of the other fabric at the top and I find them hard to chain piece due to that.
I seem to be able to consistently trim to 2 3/4″ HST. They are really fun and could be sewn up into a little coordinating pillow or small crib quilt, incorporated into the backing, etc. depending on how many you have! The one above is a pillow cover that my daughter is hand stitching….. very slowly!

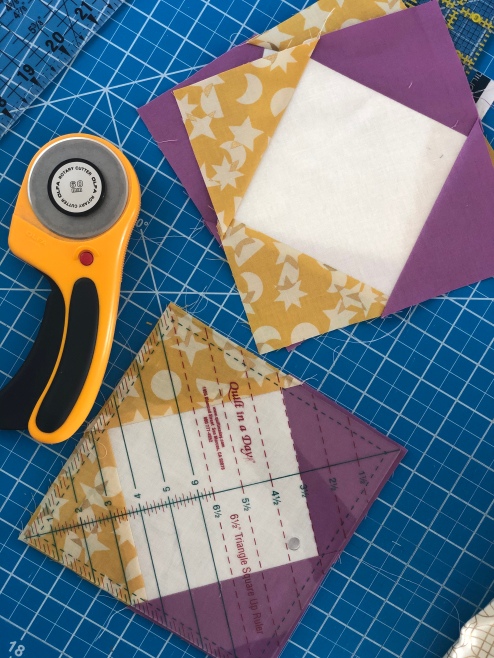
If you haven’t purchased your Quilt in a Day 6 1/2″ Square Up Ruler, I highly recommend it for this block. When you have finished trimming off your second pair of squares and pressed them to the side, you’re ready to trim your block! Place the ruler on top of your square and align so your 1/4″ dotted line marker is just a hair outside of all four points. (Ideally the diagonal line in the center of the ruler is on the diagonal of your block unit, but it doesn’t always happen that way. *shrug* ) This is how you will maintain your 1/4′ seam allowance and those crispy points.
There will not be much trim allowance here, that is normal, not to worry! Your ruler should always fit inside the square with just a wee bit of wiggle room. Just know that I have squares every once in a while where the dotted line doesn’t line up to allow for that 1/4″ exactly…… it’s fine! Don’t stress. In the end you mostly just need your square to be square and 6 1/2″. Hopefully “shimmy” is a universally recognizable word-LOL!!
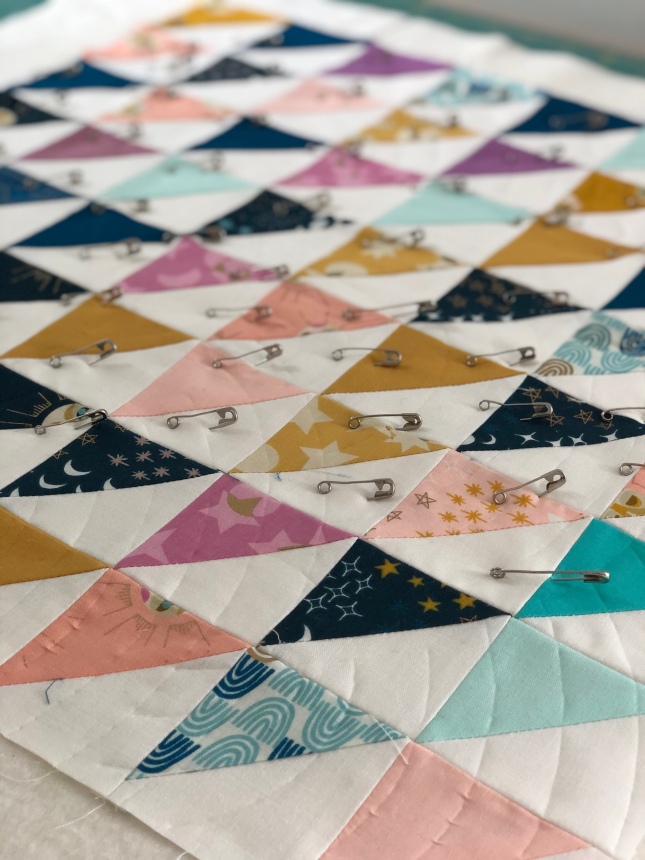
So for this week, I look forward to seeing your Diamond in a Square block units progress or finished stacks posts, or both!
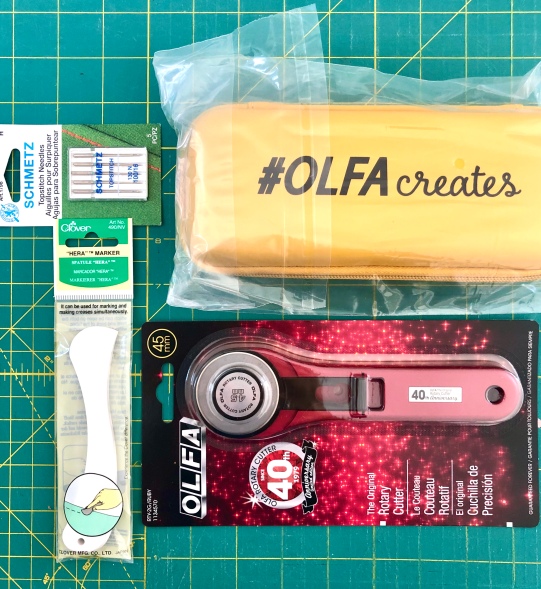
Our prize this week open to all eligible participants, will be a Hera Marker, sewing machine needles AND a generously donated Rotary Cutter with case from the folks at OLFA Creates. Have a great week friends and happy sewing!