HaHello and Happy Thursday! Can you believe we are halfway through our QAL? I guess that depends on whether you count the extra week or not. Either way, wow, great job so far! I really hope you're all enjoying the process. As always, reach out through the FB Group or email/DM me with any questions or concerns. I will be checking in with a FB LIVE this week sometime. I know it's a small group so maybe one or two of you will be able to make it. But I'll just be there if you want to stop in and say "HI"!
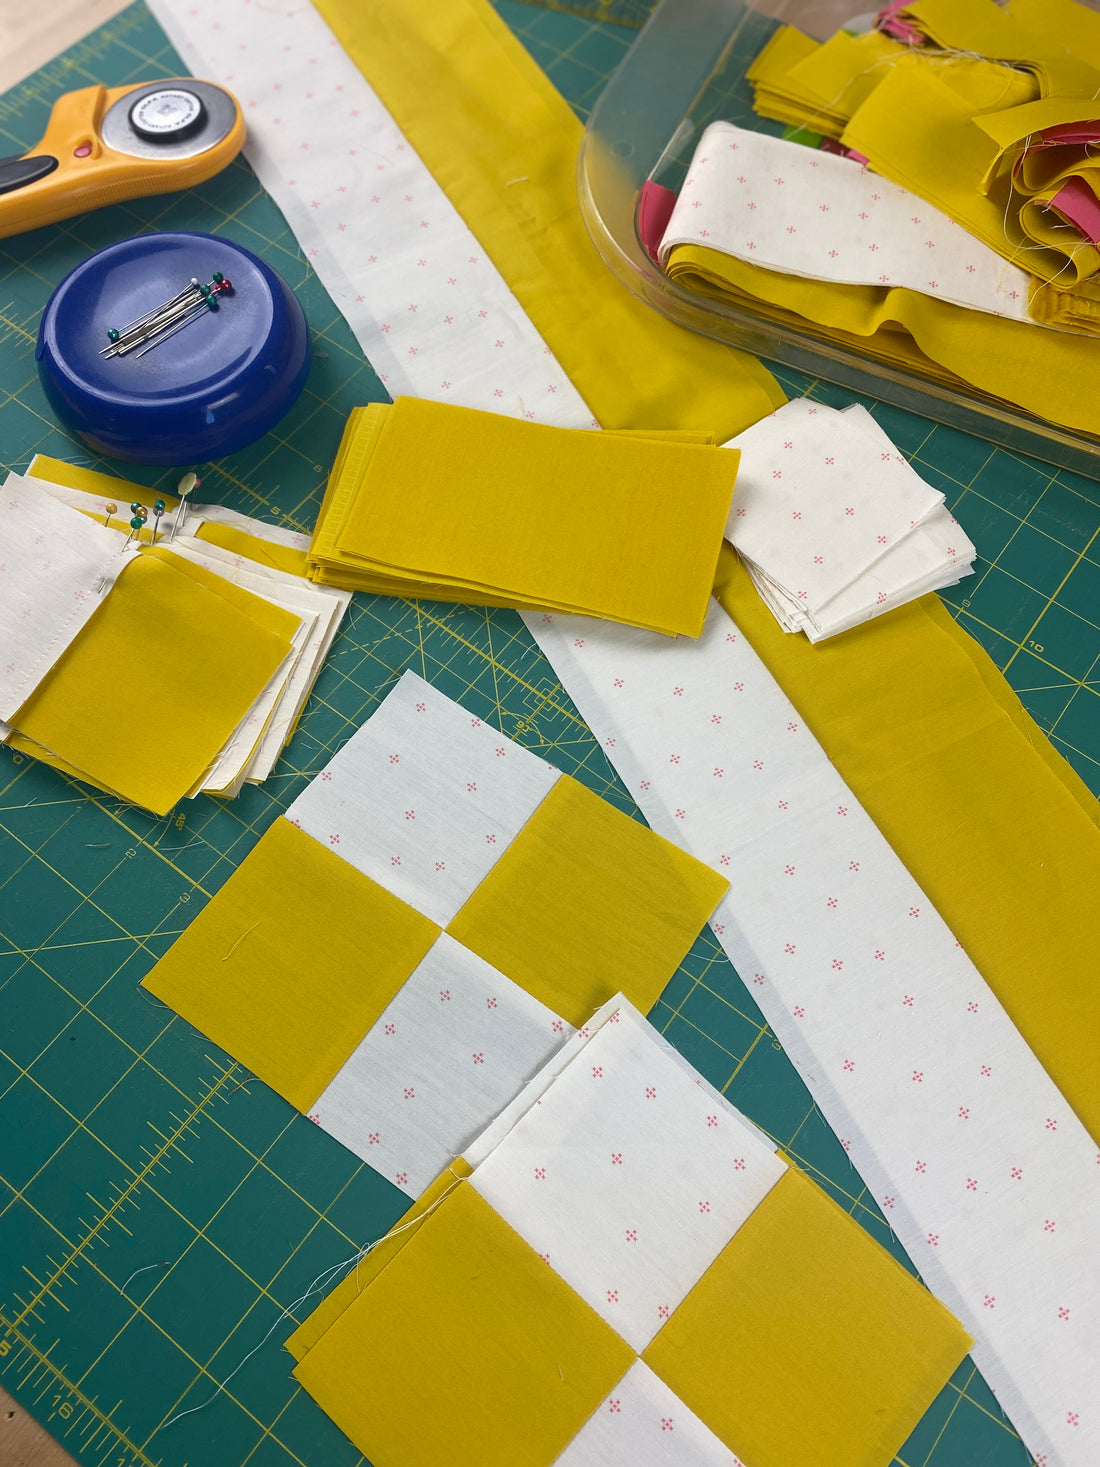
This is a big week of sewing so pace yourself and use your chain piecing skills everywhere you can. Keep in mind, the photos in this post are a sampling of two different quilts... my Classic Version and my Scrappy Version.
~~~~~~~~~~~~~~~~~~~~~~~~~~~~~~~~~~~~~~~~~~~~~~~~~~~~~~~~~~~~~
Please refer to page 6 - 8 of the pattern for the detailed instructions. Please note that on page 6 the caption reads [ 4 patch units - Modern] it should read [4 patch units - Classic].
Notice that the construction of these units is different according to the version you are making. The Classic Version uses the strip method and the Scrappy Version uses individual squares. Chain piecing is your friend in both cases.
We'll break this week into two parts. Please see the overview video below!
Part 1 will be simply making the 4 patch units (page 6 & 7 in pattern).
Part 2 will be adding on the rectangles and additional square (page 8).
Let's take a look at each version:
Classic - Optional Tips:
Placing your strips back to back and sewing a clean, straight 1/4" seam will be really important for making your units crisp and clean. You might take the extra moment or two to place pins ( just 3 or 4 is all you need) along your strip set in order to keep them even and consistent.
After pressing, place strip sets, right sides together. Align carefully and then cut your square sets. This way they will be all ready to take to your machine for chain piecing.
Prior to sewing your square sets together, make sure your seams are nesting really tightly and optionally, place a pin through both seams.
Scrappy - Optional Tips:
Making the four patch units for this version is super fun and playful. This is where you just get to play with color combinations and chain piece all of your pairs.

The following videos are for anyone but might be especially helpful for beginners.
My thoughts on combining color for this scrappy quilt. Check out my reel on IG that demonstrates finger pressing/chain piecing!
And for Part 2...
Moving on... after you've sewn all your four patch units together, simply press open and you're ready to move on to PART 2 of this week's sewing.

Part 2 of this week's sewing is pretty straightforward and laid out in the pattern on page 8. The most important part is to follow the pressing directions carefully so you can nest your seams as needed.
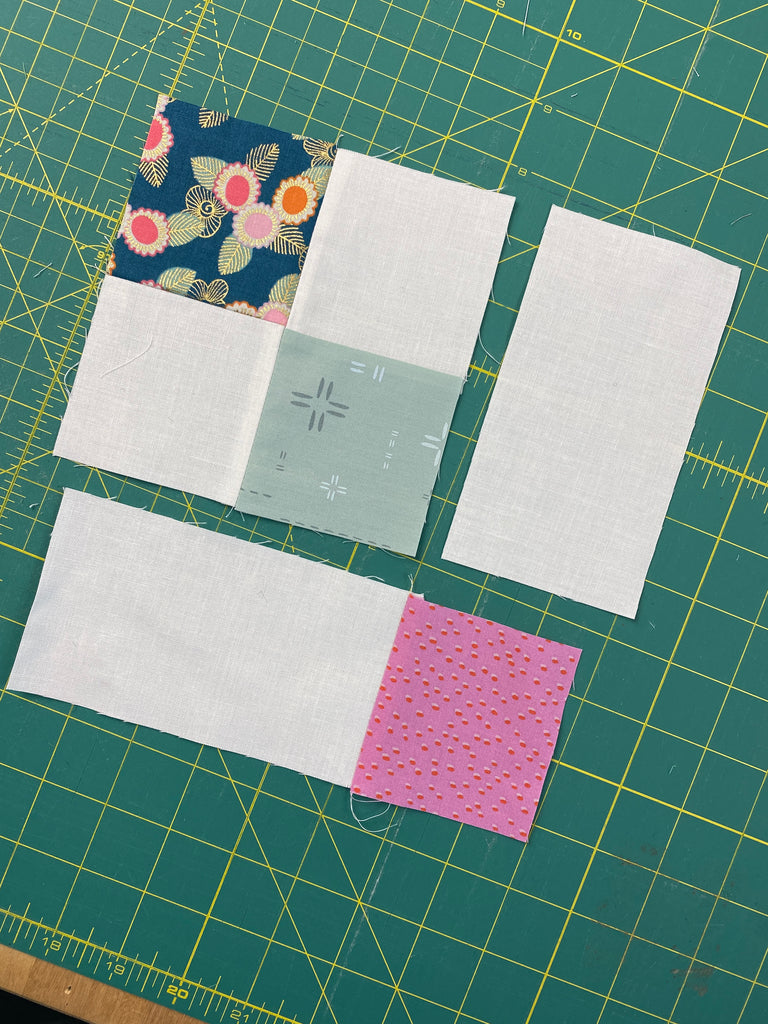

Just chain piece your way through these steps and it all comes together pretty quick. But just remember to have some fun with it too... *wink*!

As always, please post your photos/reels by next Tuesday and winner will be announced on Wednesday. This week, our generous sponsor is Aurifil Thread. Please note, this is open internationally, so all my out of U.S. participants, feel free to enter.


They have generously offered 3 Aurifil Italian Color Builder Thread Sets. I invite you the explore their gorgeous collection of threads and colors. Winner will get to choose three colors of 50 wt thread. Wow!! Thanks so much to Aurifil Threads for the kind support.
Happy sewing everyone!